Wednesday, April 15, 2020

Run General Ledger Entries on Microsoft Dynamics Nav Business Central

Dear Friends,

Today we will learn about general ledger entries. The general ledger entries display transactions done and if a G/L Account is involved, the transaction will be recorded in the general ledger entries.

To access General Ledger Entry go on the following menu:

Main Menu --> Department --> Financial Management --> General Ledger --> General Ledger Entries.


Run Standard Detail Trial Balance and Trial Balance on Microsoft Dynamics Nav Business Central

Hello viewers,

Accounting people always use the trial balance and detail trail balance to check their G/L account transaction. Today we will learn how to run the report.

Go on the following menu:

Main Menu --> Department --> Financial Management --> General Ledger

1. Detail Trail  Balance


You can filter the report by the following field.

No.You can run the trial balance by G/L number
Search NameYou can run the trial balance by search name
Income/BalanceYou can run the trial balance by income statement or balance sheet
Debit/CreditYou can run the trial balance by Debit or Credit Account
Date FilterYou can run the trial balance by date filer


2. Trail Balance


Enter the filter to run the report.

NoYou can run the report by G/L Account No
Account TypeYou can run the report by Account Type
Date FilterYou can run the report by Date Filter


Creation of Fixed Asset Posting Group on Microsoft Dynamics Nav Business Central

Dear Friends,

Today we will learn how to setup FA posting group. This setup is very important for acquisition and depreciation of fixed asset.

Step 1:

To proceed with the setup go on the following menu:

Main Menu --> Department --> Financial Management --> Setup --> FA Posting Group.


Step 2:

Click on the button New and Fill the following information

CodeEnter a code for the posting group
Acquisition Cost AccountEnter the Acquisition G/L Account
Accum. Depreciation AccountEnter the Accumulated Deprecation G/L Account
Write-Down AccountEnter the write down G/L Account
Appreciation AccountEnter the Appreciation G/L Account
Custom 1 Account
Custom 2 Account
Maintenance Expense Account
Acq. Cost Acc. on DisposalEnter the acquisition cost G/L Account on disposal
Accm. Depr. Acc. on DisposalEnter the depreciation G/L Account on disposal
Write-Down Acc. on DisposalEnter the write down G/L Account on disposal
Appreciation Acc. on  DisposalEnter the appreciation G/L Account on disposal
Custom 1 Account on Disposal
Custom 2 Account on Disposal
Gains Acc. on DisposalEnter the gain G/L Account on disposal
losses Acc. on DisposalEnter the losses G/L Account on disposal

Step 3:

Enter the Balancing account.


Fill all the necessary information.

Acquisition Cost Bal. AccEnter the acquistion cost balance G/L account
Depreciation Expense AccEnter the Depreciation G/L expense account
Write-Down Expense AccEnter the write down G/L expense account
Appreciation Bal. AccountAppreciation G/L balance account
Custom 1 Expense Acc
Custom 2 Expense Acc
Sales Bal AccEnter the sale balance G/L Account
Maintenance Bal. AccEnter the Maintenance Balance G/L Account
Write-Down Bal. Acc on DispEnter the write down Balance G/L Account on disposal
Apprec. Bal Acc. DispEnter the balance G/L Account on disposal
Custom 1 Bal. Acc on disposal
Custom 2 Bal. Acc on disposal

Create a trial balance by account schedule on Microsoft Dynamics Nav Business Central

Hello Friends,

Today we will learn how to create a trial balance on account schedule. This tool permits us to create our customized report.

Step 1:

To create an account schedule, go on the following menu:

Main Menu --> Department --> Financial Management --> General Ledger --> Account Schedule.


Step 2:

Click on the button New and fill the following information.

NameEnter a name for the account schedule
DescriptionEnter a description for the account schedule
Default ColumnNeed to create columns
Analysis View NameIf you want to associate a analysis view with the account schedule

Step 3:

To add a column click on the drop down of the field Default Column


The following page will open.

fill the following information:

NameEnter a name
DescriptionEnter a description
Analysis View NameIf there is analysis view that need to be linked

Step 4:

Click on Edit Column Layout setup and fill the following information.


Column NoAdd a column no
Column HeaderEnter the name of the column header
Column TypeEnter type of the column
Ledger Entry TypeEnter entries in ledger entry type
Amount TypeEnter the type of the amount
FormulaEnter formula if any
Show opposite signIf you want to show opposite sign in amount
Comparison date formulaLet it blank
ShowEnter always if you want the field to be display
Rounding FactorEnter the rounding factor

Click on OK

Step 5:

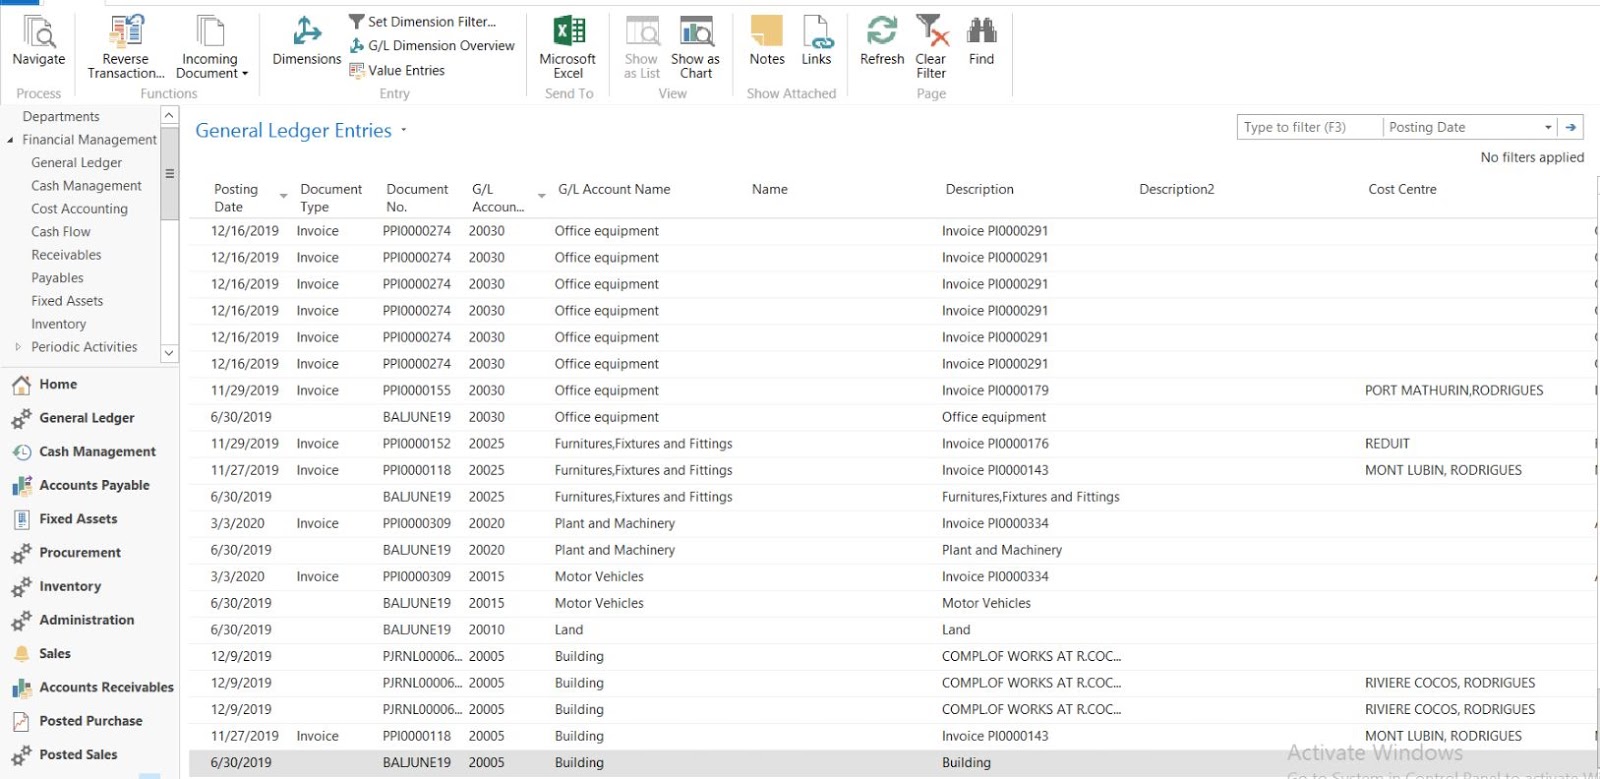
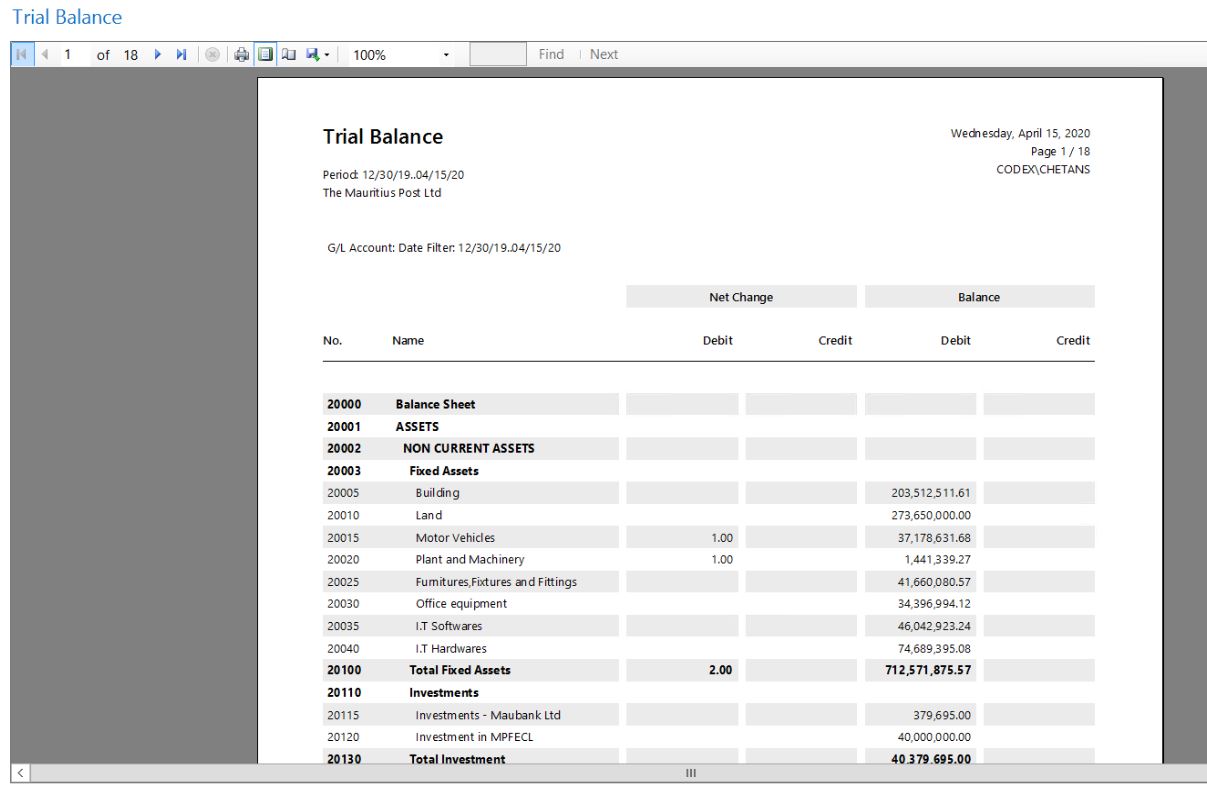
To test the account schedule go on the main page and click on overview.


After clicking on overview, the report will appear.