In this tutorial, we will learn how to create a sale invoice. It is normally a document used to sell goods or services to a customer.
Step 1:
To create a sale invoice go on the following menu:
Main Menu --> Department --> Financial Management --> Receivables --> Sales Invoices.

Step 2:
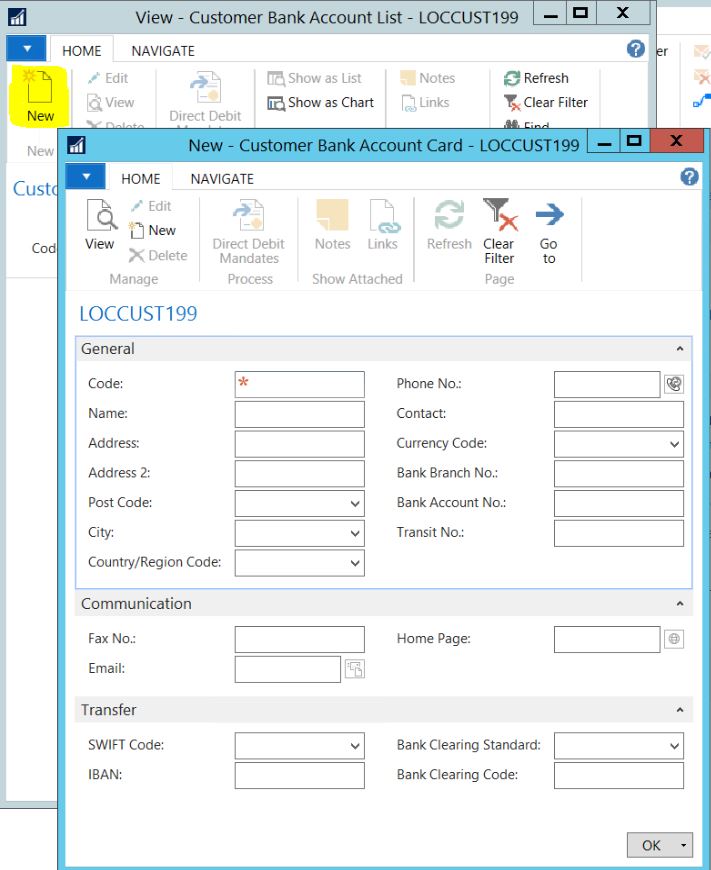
Click on the button New and fill the information.

| General | |
| Customer No | Enter the customer number |
| Customer Name | Customer name will appear automatically |
| Address | Address will display automatically |
| Address 2 | Address will display automatically |
| City | City will display automatically |
| Post Codes | Post codes will display automatically |
| Country / Region Code | Region Code will display automatically |
| Contact No | Contact number will display automatically |
| Contact | Name of the contact will display automatically |
| Posting Date | Enter the posting date |
| Due Date | The due date will calculate automatically |
| External Document No | Enter an extra relevant number |
| Posting Description | Enter a posting description |
| Status | It will show the status of the sale invoice |
| Lines | |
| Type | Enter the type |
| No | Enter the Type No |
| Description | The name of the type will appear automatically |
| Description 2 | Enter a description |
| Location Code | Enter any Location Code |
| Quantity | Enter the quantity |
| Unit of Measure | Enter the unit of measure |
| Unit Price Excl VAT | Enter the unit price excluding vat |
| Line Amount Excl Vat | Quantity * Unit price |
| Line Discount % | Enter a discount percentage if there is |
| Line Discount Amount | Enter discount amount if there is |
| Allow Invoice Discount | If check, the discount amount will be applied |
| VAT Prod Posting Group | Enter the VAT Prod Posting Group |
| Gen. Prod Posting Group | Enter the Prod Posting Group |
| Line No. | Line number will display automatically |

Invoice Details
| |
| Currency Code | If the invoice is foreign enter the foreign currency |
| Location code | Enter location Code |
| Price Include Vat | If you want to put price including vat then check this field |
| Shipping and Billing | |
| Ship-to | If you want to ship the good to another location |
| Contact | If the another location has a contact person, it will appear here |
| Bill-to | If you want to bill another customer |
Step 3:
Click on POST to validate transaction.
Click on OK to close.