Fixed asset is a piece of property or an equipment owned by a company to produce goods or services to bring revenue to the company. It is to be noted that an asset can be tangible or intangible.
Step 1:
To create a fixed asset go on the following menu:
Main Menu --> Department --> Financial Management --> Fixed Asset --> Fixed Asset.

Step 2:
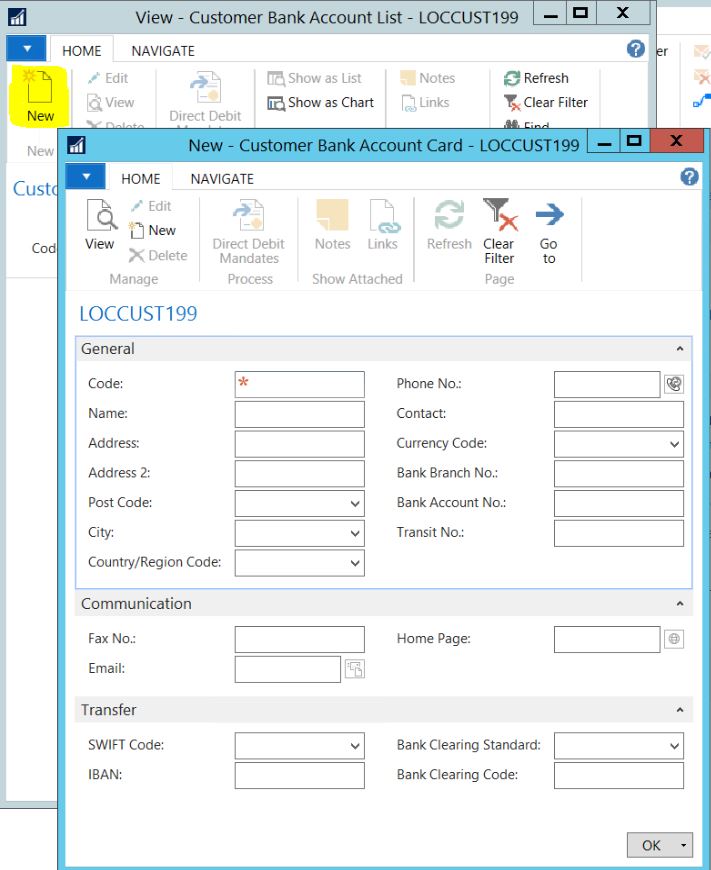
Click on the button New and fill the information.
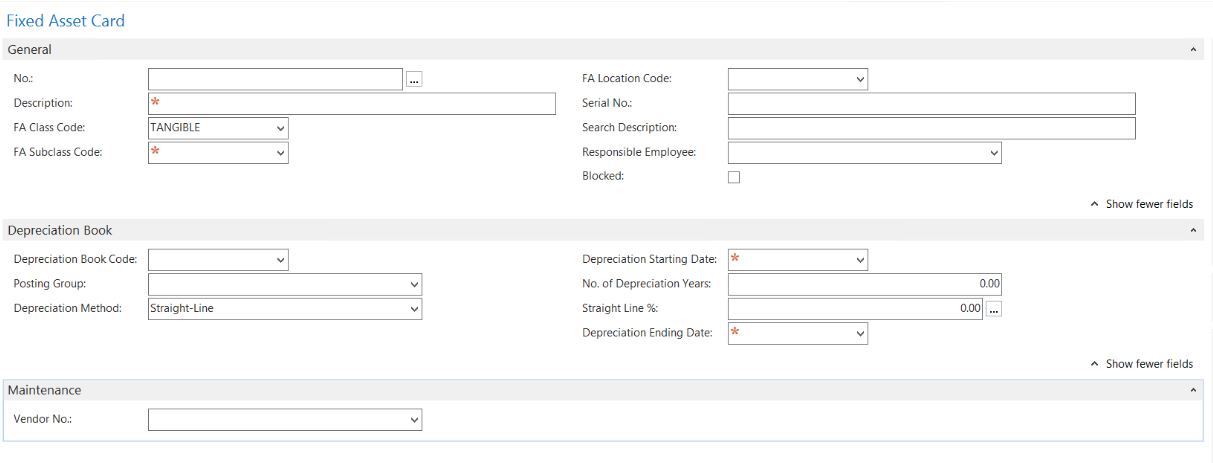
General
| |
| No. | If no of series has been setup, the fixed asset number will be generated automatically |
| Description | Enter the description of the asset |
| FA Class Code | Enter the class code of the asset |
| FA Sub class Code | Enter the sub class code of the asset |
| FA Location Code | Enter the FA location Code |
| Serial No | Enter the serial number of the asset |
| Search Description | It will be set as the description automatically |
| Responsible Employee | Enter the employee responsible for the asset |
| Blocked | If no transaction need to be done on the asset, you can block it |
Depreciation Book
| |
| Depreciation Book Code | Enter the depreciation book code |
| Posting Group | Enter the Fixed Asset Fixed Asset Posting Group |
| Depreciation Method | Enter the depreciation method |
| Depreciation starting date | Enter the depreciation start date |
| No of Depreciation years | Enter the number of depreciation years |
| Straight Line % | If depreciation method is straight line enter the percentage |
| Depreciation Ending Date | The depreciation ending date will be calculated automatically based on the depreciation year |
Maintenance
| |
| Vendor No. | Enter the vendor number for maintaining the fixed asset. |
Click on OK to close.